Essential Tips for Indoor Gardening Success!
- Grandpa Grover

- Apr 7
- 3 min read
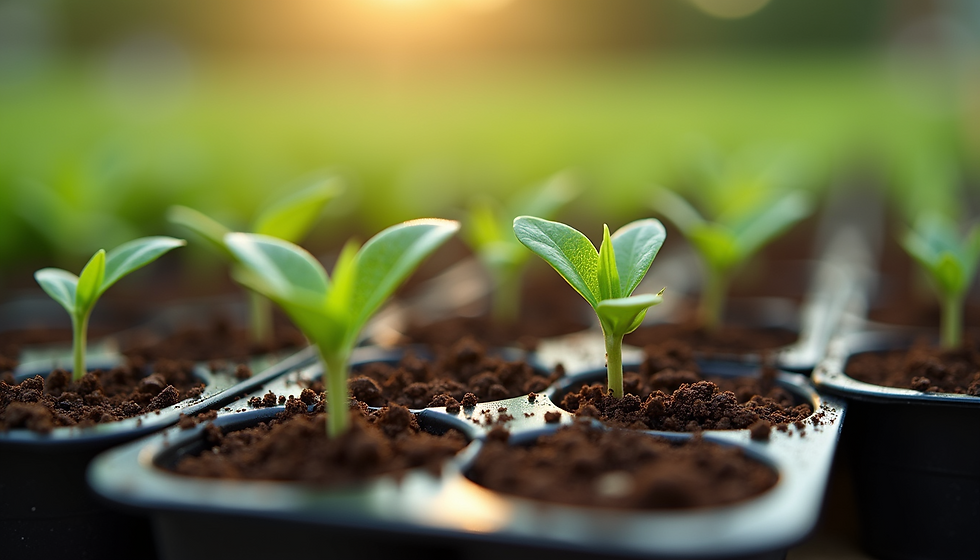
Starting seeds indoors can be an exciting journey for any gardening enthusiast. This is especially true for those proud growers passionate about cultivating their own food and flowers. With the right approach, you can create a lush, vibrant garden filled with life. Whether you're a seasoned gardener or just getting started, these essential seed-starting tips will set you up for success.
Pre-Soaking Seeds
Pre-soaking seeds before planting can enhance germination rates, though it is not necessary for all types of seeds. This technique is particularly helpful for seeds with hard shells, such as peas or beans.
Generally, soak seeds for 12-24 hours before planting. However, for tiny seeds, such as petunias, avoid soaking as they can clump together, making sowing tricky.

Use the Right Soil
The foundation of a successful seed-starting endeavor is quality soil. Choosing a high-quality seed-starting mix is essential. Unlike regular potting soil, seed-starting mixes are lightweight, promote good drainage, and ensure proper aeration. These characteristics support healthy root development and minimize problems like water retention and root rot.
A good seed-starting mix typically includes ingredients such as peat moss, vermiculite, and perlite. For instance, a mix containing 60% peat moss to 20% vermiculite and 20% perlite can offer an ideal blend for strong root growth without overwhelming young plants.
Proper Containers
Selecting the right containers is another key part of the seed-starting process. Ensure your containers have drainage holes to avoid water buildup at the bottom, which can lead to disease and rot. You can use various containers, including peat pots, yogurt cups, or seed trays, as long as they are clean and sterile.
If you opt for recycled containers, ensure they are thoroughly cleaned with a mild bleach solution to eliminate any potential pathogens. For example, using a mixture of one part bleach to nine parts water can effectively sanitize containers.
Optimal Lighting
Seedlings need light to grow well. Place seed trays near a sunny window, especially in spring when days are longer. However, natural light might not always suffice. Many gardeners find that using artificial grow lights works wonders.
For optimal seedling growth, provide 12-16 hours of light daily. Position grow lights 2-4 inches above seedlings, raising them as the plants grow. This practice prevents leggy seedlings and supports strong, robust growth.
Temperature Control
Most seeds germinate best in warm conditions between 65°F and 75°F (18°C to 24°C). If your home isn't warm enough, consider using seedling heat mats. These mats maintain consistent warmth and can significantly speed up germination rates.
For instance, using a heat mat can increase germination speed by as much as 30% for certain seed types, giving your seeds the ideal environment to sprout.
Keep Soil Moist
Consistent soil moisture is vital for seed germination and seedling health. While the soil should be moist, it is crucial to avoid waterlogging. The best solution? Use a spray bottle for gentle watering, which helps evenly distribute moisture without oversaturating the soil.
Don't forget to check the soil moisture level regularly, especially if using artificial lighting, which can dry the soil out more quickly. A simple finger test—sticking your finger into the soil up to the first knuckle—can help gauge moisture levels effectively.
Label Everything
In your excitement, don't forget to keep track of what you’ve sown and when. Labeling your containers can save you from uncertainty later. A simple method is to use popsicle sticks and a permanent marker to note the variety and planting date.
This practice not only aids organization but also provides crucial information when it’s time to transplant seedlings outdoors. For example, if you started tomatoes on March 1, you will know they should be hardened off by mid-April.
Harden Off Seedlings
Acclimating indoor seedlings to outdoor conditions is critical before transplanting them outside. This process, known as "hardening off," helps seedlings adjust to changes in light, temperature, and wind.
Start by placing your seedlings outside for just a few hours each day, gradually increasing exposure over a 7 to 14-day period. By the end of this period, your plants will be better prepared to thrive in their new environment.
Embrace Your Gardening Journey
Starting seeds indoors opens a world of exciting possibilities for any gardener who dreams of a thriving garden. By following these essential tips, you take significant steps toward cultivating the future of your garden.
From selecting quality soil and proper containers to understanding light and temperature needs, every detail matters. Take your time, enjoy the process, and celebrate the journey of nurturing your plants from tiny seeds to beautiful blooms or bountiful harvests. With commitment and care, you will not only succeed in your indoor gardening efforts but also deepen your connection to the joy of growing your own food. Happy gardening!


Comments